BEFORE YOU PLANT
On the way home, keep plants out of strong wind—wind dehydrates leaves and can snap tender growth. As soon as you arrive, give foliage and roots a thorough drink, then either plant right away or tuck the pot somewhere sheltered in part shade. Keep the soil lightly moist until planting day (water when the top 2–5 cm / 1–2" feels dry).
When Can I Plant?
You can plant any time the ground isn’t frozen. Spring and fall are the easiest seasons because the weather is gentle and soil holds moisture. Summer planting is fine—just plan for more frequent, deeper watering so the root ball never dries out. Winter is ok too, just remember that frozen ground make it difficult to keep a plant hydrated. Wait until the soil thaws before planting.
Choosing the Right Spot
Success starts with the principle of the “Right Plant, in the Right Place.” Check the mature size on the tag and give it room so you won’t need harsh pruning later. Match sun to the label: full sun is 6+ hours of direct sun; part shade is 4–6; full shade is less than 4. Notice how wet or dry the area stays after rain and consider wind—exposed sites dry faster and may require staking for tall, top-heavy trees.
Prepare the Hole & Check Drainage
Dig a hole twice as wide as the root ball but only as deep as the root ball is tall—planting too deep can kill a plant. Loosen (“scuff”) the slick sides of the hole so new roots can grow into the native soil. Before planting, do a quick drainage test: fill the hole with water. In well-drained soil, it should soak away within about 10-15 minutes. If water lingers much longer (common in heavy clay), set the plant slightly high on a gentle mound/berm so the top of the root ball sits 2–5 cm (1–2") above the surrounding grade.
Soil & Simple Amendments
Plants establish best when they grow into your native soil. If your soil is very sandy or very heavy, blend up to one-third compost or garden soil into the backfill (don’t make a rich “pocket” at the bottom). A small handful of bone meal supports early root growth—but skip bone meal for acid-loving plants like rhododendrons, azaleas, pieris, camellias, and blueberries. Use liquid transplant fertilizer on those ones instead. Mycorrhizae inoculant can help roots partner with beneficial fungi. Save stronger feeding for after the plant settles in.
Plant Types
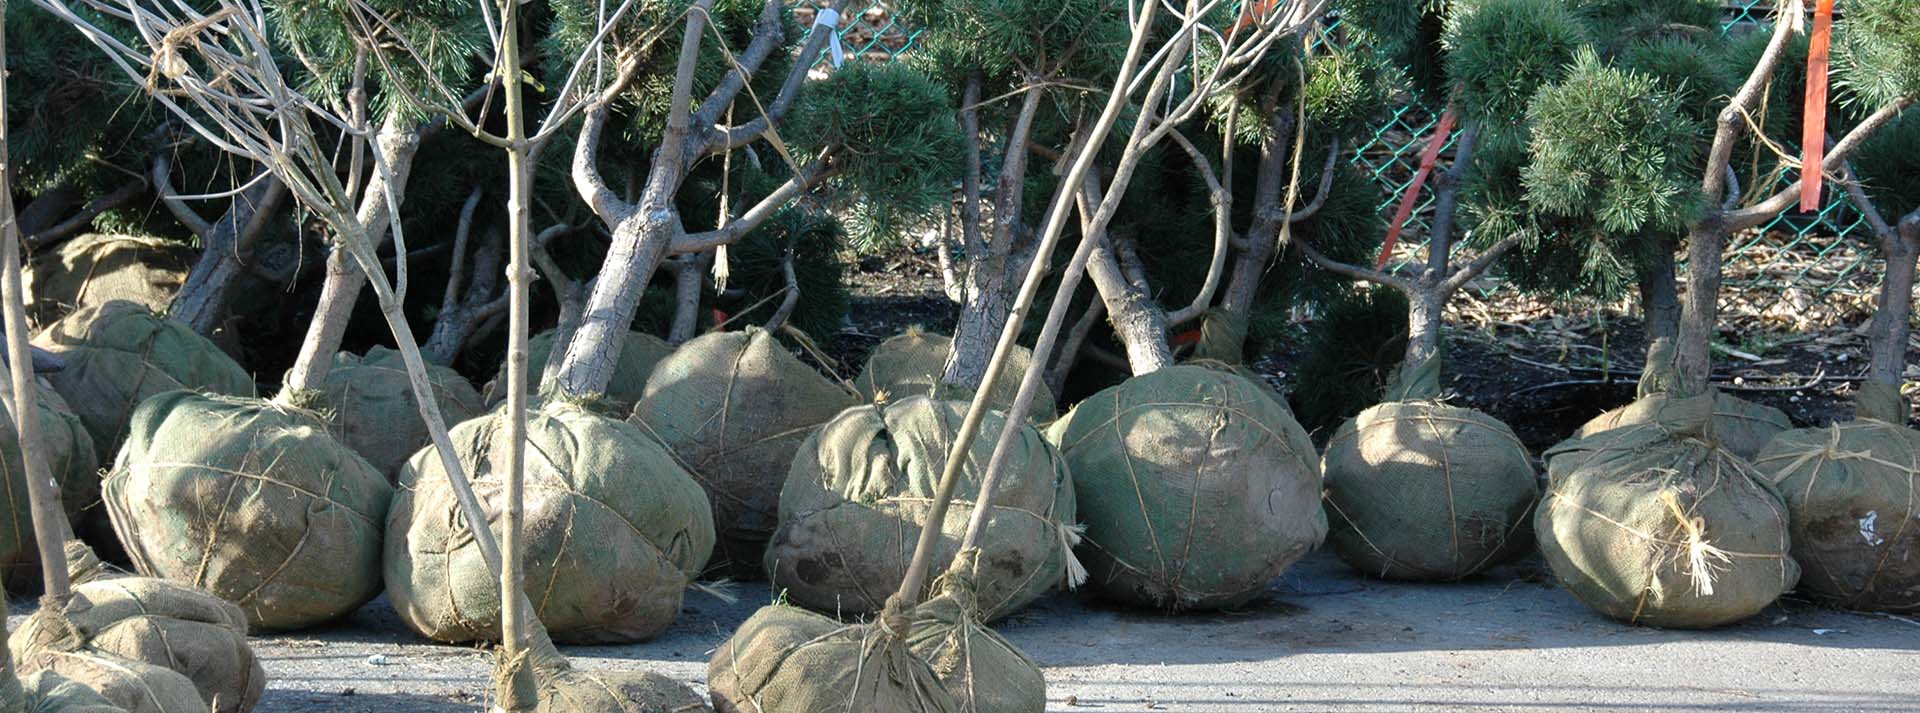
Balled & Burlapped (B&B)
Set the plant in the hole at the correct height and locate the root flare—the slight swelling where the trunk widens before the roots. It should end up at or just above finished soil level. Cut and remove all twine, especially anything around the trunk. Peel back or remove the top of natural burlap, but we recommend keeping the burlap on the sides and bottom. This is in case any fine roots have already grown threw it. Cut away the top third to half of any wire basket; if you discover synthetic/plastic “burlap,” remove it entirely. Support the root ball from beneath when adjusting height.
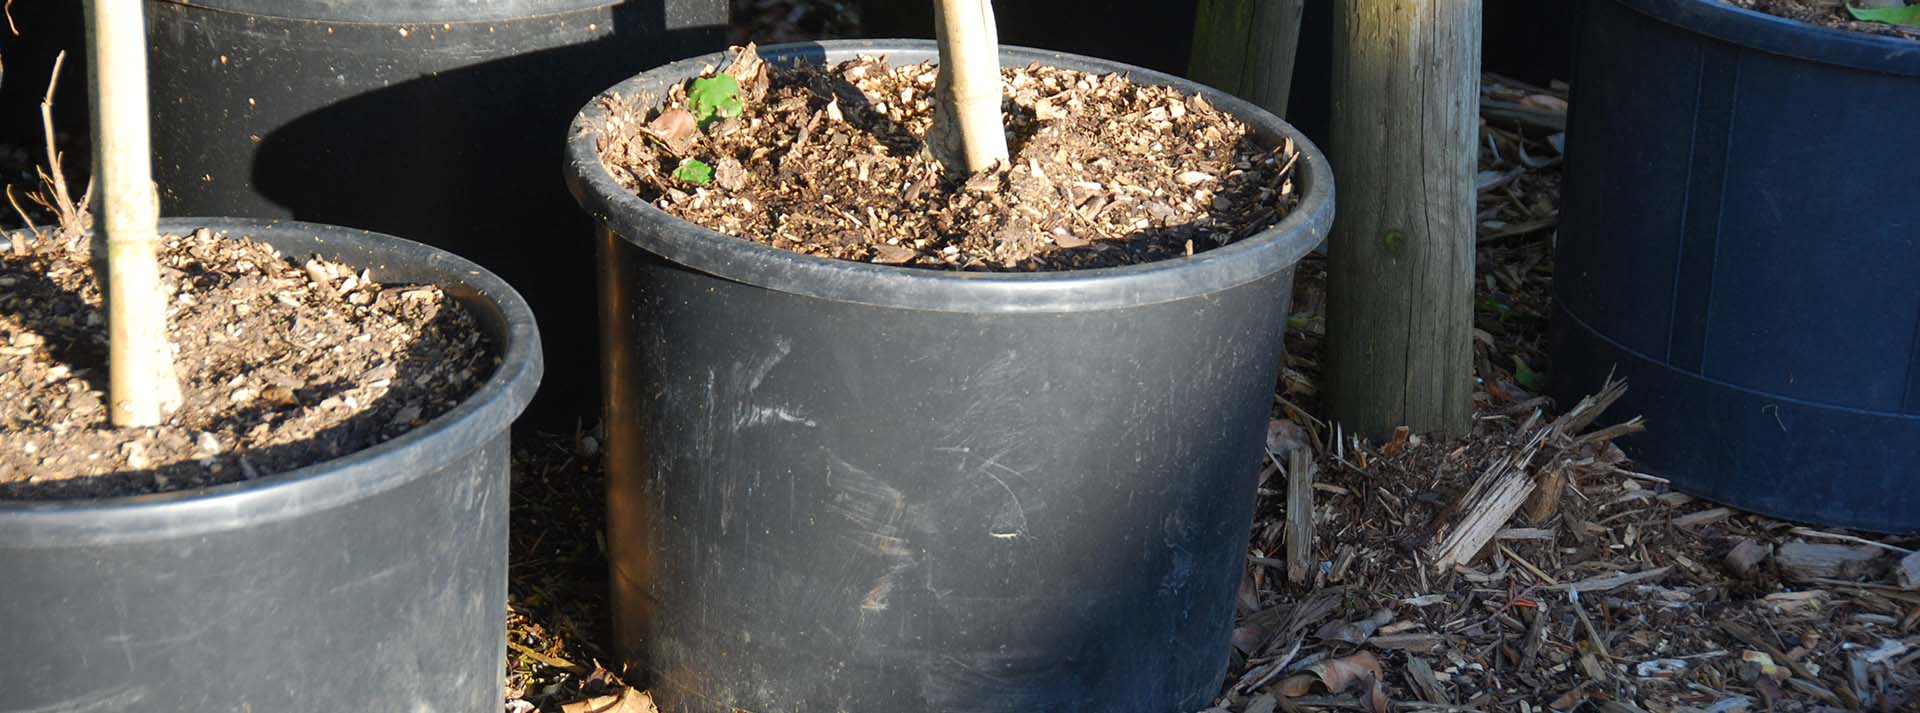
Container-Grown
Slide off the pot. If you see circling roots, gently loosen them or make a few shallow vertical cuts so roots grow outward. Position the plant so its existing soil line matches—or is slightly above—the surrounding grade, with the root flare visible.
FINAL STEPS
Backfill & Watering In
Backfill with your native soil (plus any light amendment), firming gently with your hands to remove large air pockets—no stomping. Build a shallow watering berm around the edge of the hole and water deeply until the soil settles. Top up if needed.
Mulching
Spread a 5–7 cm (2–3") layer of mulch over the planting area to conserve moisture, moderate soil temperature, and reduce weeds. Keep mulch pulled back 5–10 cm (2–4") from the trunk or stems—think donut, not volcano.
Staking
Most plants don’t need staking. Stake only tall, top-heavy trees or on very windy sites. Use two stakes with flexible ties that allow some movement, and remove them after one growing season.
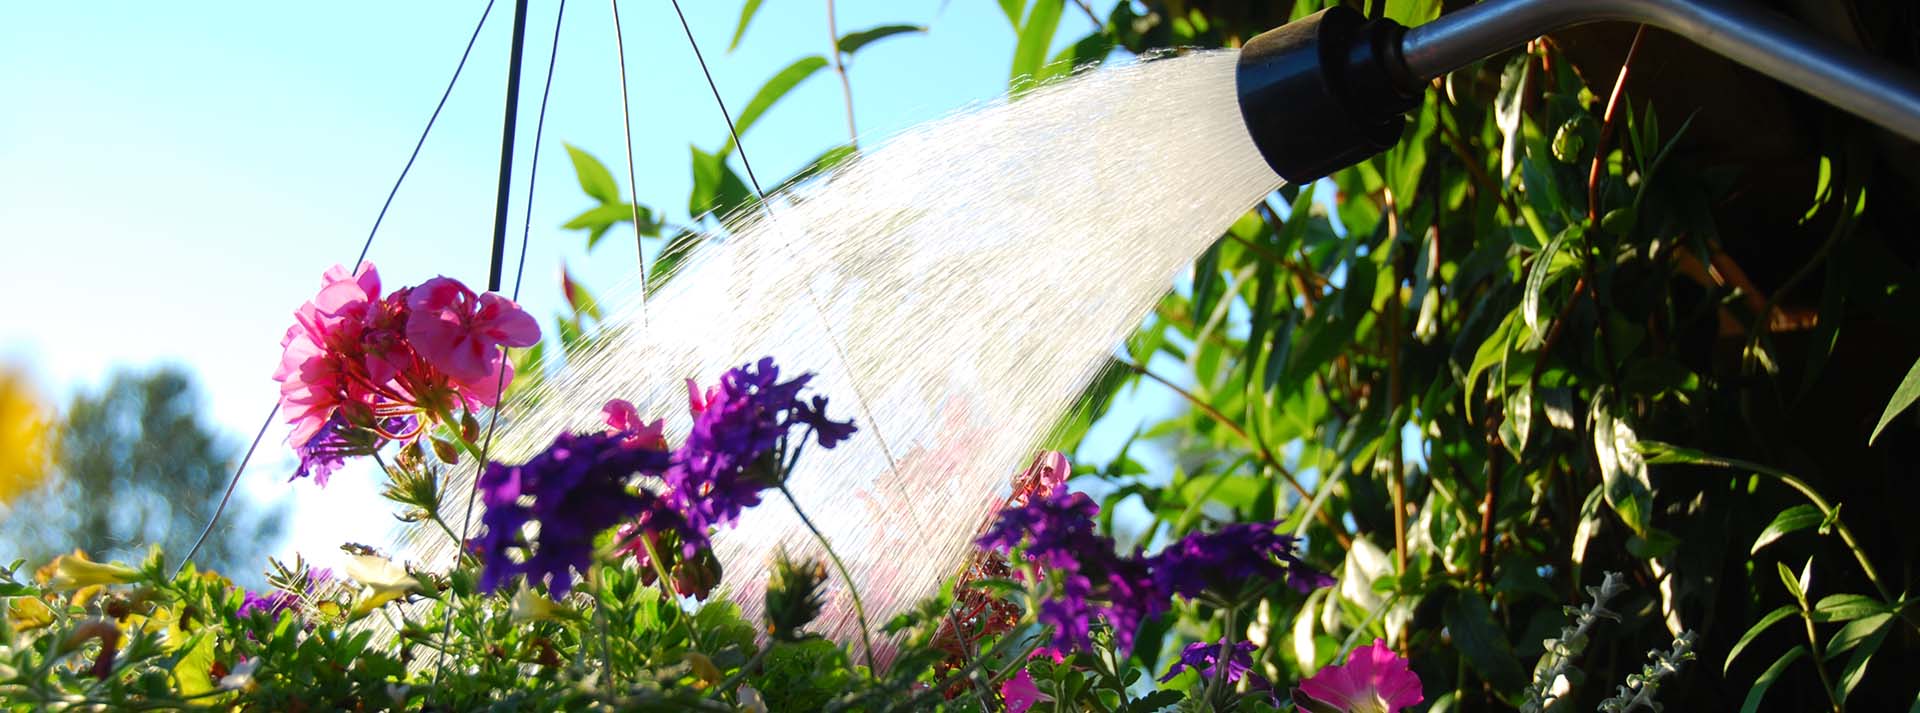
Watering Schedule (First Year)
Watering is the number-one success factor. Give a slow, deep soak right after planting. For the first 2–3 weeks, check moisture every day or two in warm weather and water when the top 2–5 cm (1–2") is dry. During weeks 4–8, water two to three times weekly depending on heat, wind, and rainfall. After two months, once-a-week deep watering usually does it. Use a hose on a slow trickle or a soaker hose for 20–30 minutes— a lawn sprinkler isn’t enough for new plantings. Use common sense: hot, windy spells may require extra water; cool, rainy periods may require less.
Common Mistakes to Avoid
Don’t bury the root flare by planting too deep. Don’t over-amend only the hole (it can act like a soggy bathtub). Avoid light, frequent sprinkles that wet only the surface—water deeply instead. Keep mulch off the trunk, and never leave twine or wire around the stem.
Need a Hand?
We’re happy to help you match plants to your site and walk you through watering plans—especially during summer heat. New plants need more care than established ones, and a few good habits early on make all the difference.
Our 1-Year Plant Support Program
We stand behind hardy outdoor trees and shrubs (Zone 7 and lower) with a 1-year support plan from the date of purchase at Art’s Nursery. Keep your receipt, follow the watering guidance above, and if something seems off, contact us early—we’ll help troubleshoot and get your planting back on track.